
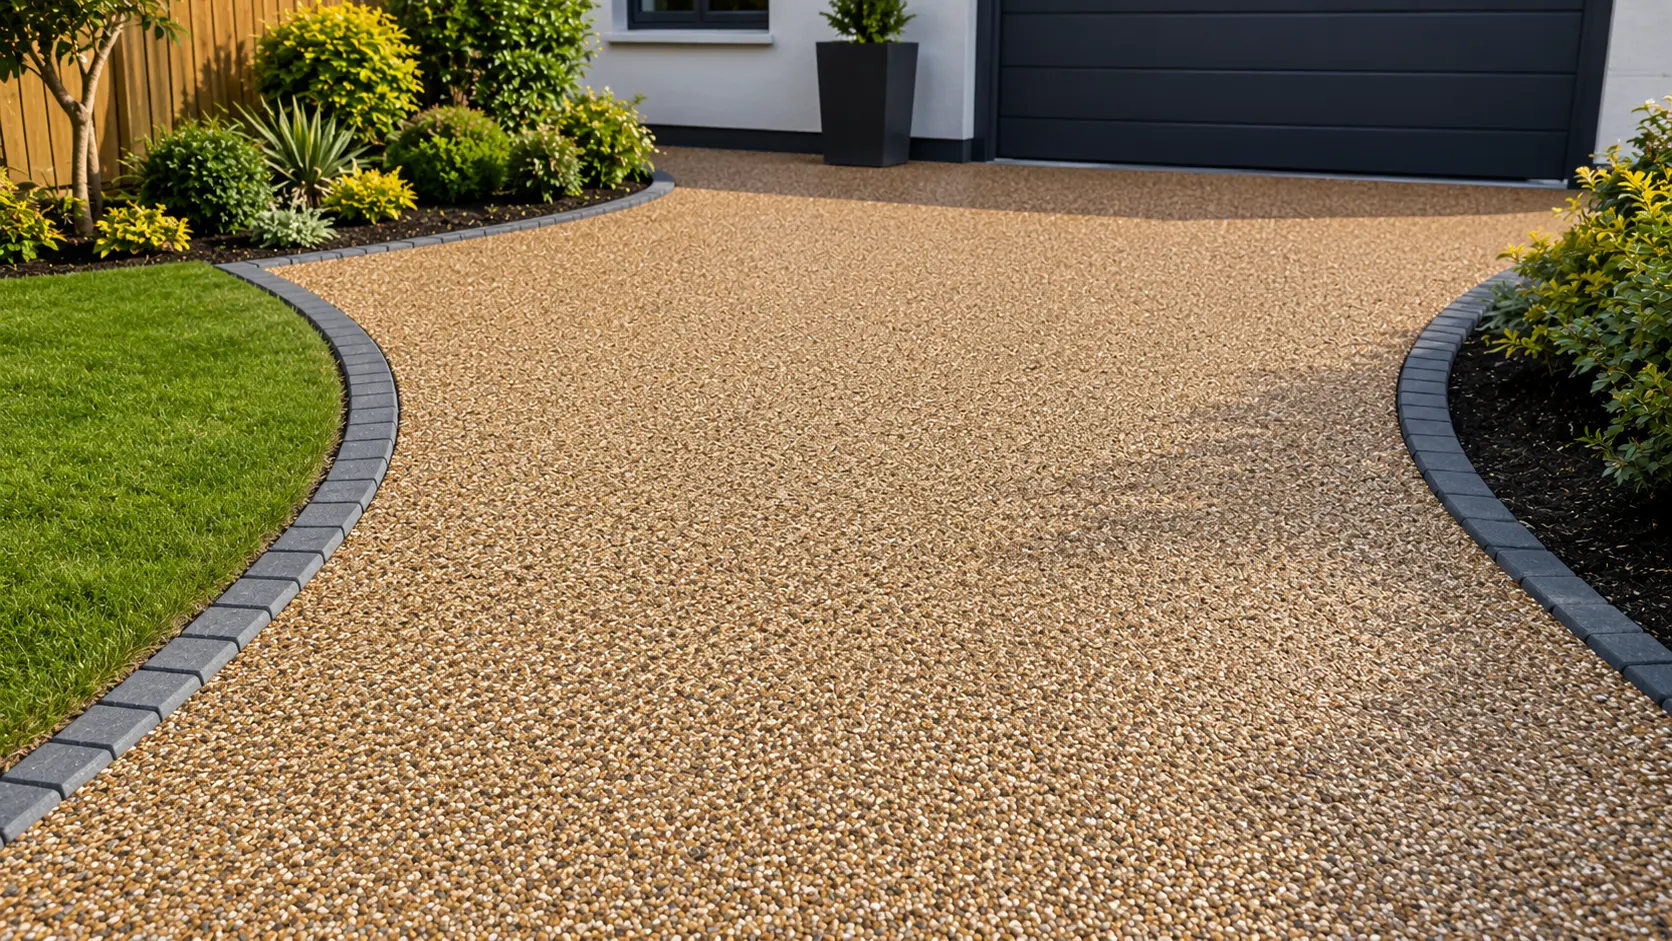
A resin-bound driveway can fail quickly when the installer ignores the base, drainage, mixing ratio or weather conditions. The problem is rarely the resin alone. Poor preparation usually causes cracking, loose stones, staining, puddles and early surface failure.
A serious installation should start with a proper site inspection, clear specification and skilled workmanship. With the right installer, resin-bound surfacing can provide a smooth, permeable and long-lasting driveway that improves kerb appeal without creating repeat repair issues.
How to Avoid a Poor Resin Bound Driveway Installation?
Poor resin-bound installation is avoided by checking the base, drainage, resin type, mixing method, surface depth, edging and curing time before work starts. Every stage must support strength, permeability and long-term surface stability.
The biggest mistake is choosing a contractor only because the quote is low. Resin-bound surfacing is a technical system, not just decorative stone spread across a driveway.
A good installation needs a stable base, correct aggregate blend, UV-stable resin, accurate mixing, proper trowelling and the right weather conditions. If one part is rushed, the whole surface can fail early.
Homeowners should ask clear questions before hiring resin bound driveways installers in UK. The installer should explain the base build-up, drainage route, resin type, expected depth, curing time and guarantee terms.
A strong resin driveway is built from the ground upward. The finished surface may look simple, but the real quality is hidden in preparation, material control and installation discipline.
Step 1: Check the Existing Base First
The base decides whether the resin surface will stay stable. A driveway can look smooth on the day of installation, but a weak, cracked or moving base will create problems later.
Resin-bound surfacing should be installed over a suitable stable base. Common base options include open-textured tarmac, asphalt or properly prepared concrete, depending on the drainage design and site condition.
The installer should inspect the existing driveway before quoting. They should check cracks, movement, soft spots, dips, old repairs, drainage fall and whether the surface can carry daily vehicle weight.
A poor installer may say they can simply lay resin over the existing surface. That is a warning sign if they have not tested the base condition or explained how water will drain.
If the base is unstable, the resin can crack, sink or reflect movement from below. The surface layer cannot hide structural weakness forever.
Step 2: Confirm Proper Drainage Design
Drainage is one of the most important parts of resin bound installation. A driveway should not hold standing water, send runoff toward the house or drain uncontrolled onto the pavement or road.
A resin bound driveway is usually valued because it can be permeable. However, permeability depends on the full system, not only the top resin layer.
If the resin is laid over a non-permeable base, water may not pass through the driveway as expected. In that case, drainage channels, soakaways or a suitable fall may be needed.
The installer should explain where rainwater will go. It may drain through the surface into a permeable base, or it may be directed safely to a lawn, border or on-site drainage point.
Puddling after installation is often a sign of poor levels, blocked drainage or an unsuitable base. A good contractor plans water movement before any resin is mixed.
Step 3: Avoid the Wrong Resin System
Resin-bound and resin bonded are often confused, but they are not the same. Choosing the wrong system can affect drainage, finish quality, durability and long-term maintenance.
A resin bound driveway is created by mixing aggregate with resin before laying. This forms a smooth, porous surface where the stones are fully coated and locked together.
A resin-bonded surface is different. Resin is applied to the base first, then aggregate is scattered on top, often creating a more textured surface with different drainage performance.
For most modern driveway projects, resin bound is preferred because it offers a neater finish, better permeability potential and stronger stone retention when installed correctly.
The quotation should clearly state which system is being used. If the installer avoids this detail, the homeowner may end up with a surface that does not match expectations.
Step 4: Demand the Correct Resin Depth
The depth of the resin layer affects strength, durability and surface performance. A thin resin layer may look attractive at first, but it can wear quickly under tyres and regular use.
A resin bound driveway is usually installed at a controlled depth based on aggregate size, traffic load and surface use. The depth should be suitable for cars, turning areas and pedestrian traffic.
Thin installation is a common shortcut. It saves material and labour, but it can lead to loose stones, weak bonding, patchy finish and faster surface breakdown.
The installer should confirm the expected depth in writing. They should also explain whether the depth changes at edges, thresholds, manhole covers or high-use turning points.
A durable driveway needs enough material to lock the aggregate properly. If the installer cannot explain depth clearly, the specification is not strong enough.
Step 5: Check Aggregate and Resin Quality
Good materials protect the finish, colour and lifespan of the driveway. Poor aggregate, non-UV resin or contaminated stone can create fading, rust staining, loose stones and uneven appearance.
The resin should suit external driveway use. UV-stable resin is often preferred because it helps protect colour consistency and reduces the risk of yellowing under sunlight.
Aggregate should be clean, dry and suitable for resin-bound surfacing. Moisture or dust on the stone can weaken the bond between the resin and aggregate.
Iron-rich aggregate may create rust spots over time when exposed to water. A professional installer should use reliable stone blends from trusted suppliers.
Colour choice also matters. Very light blends can show dirt more easily, while very dark blends may show dust, tyre marks or surface contrast. The installer should explain this before installation.
Step 6: Watch the Mixing Process
Mixing quality controls the strength and appearance of the finished surface. Poor mixing can leave dry stone, resin-rich patches, colour variation and weak areas that fail early.
Resin-bound material should be mixed carefully using the correct process and equipment. A forced action mixer is commonly used because it helps coat the aggregate evenly.
The resin-to-aggregate ratio must be controlled. Too little resin can cause loose stones, while too much resin can create shiny patches, drainage issues or uneven texture.
Small batch control matters because resin has a limited working time. If the team mixes too much at once, the material may begin curing before it is properly laid and finished.
A clean, consistent mix gives the surface better strength and appearance. Poor mixing often becomes visible later as patchiness, loose aggregate or inconsistent texture.
Step 7: Avoid Bad Weather Installation
Resin bound surfacing is sensitive to weather. Rain, damp stone, low temperature, extreme heat and surface moisture can all affect bonding, curing and final finish quality.
A reliable installer should not lay resin during rain or onto a wet surface. Moisture can interfere with the resin bond and may cause foaming, clouding or surface weakness.
Cold conditions can slow curing, while extreme heat can reduce working time and make the surface harder to finish evenly. Both situations increase installation risk.
The contractor should check the forecast before installation day. They should also assess surface temperature, moisture levels and daylight time before starting.
Rushed work in poor weather is a major reason resin bound driveways fail. A professional team would rather delay than install a surface that cannot cure properly.
Step 8: Make Edging Strong and Stable
Edging holds the resin surface in place and gives the driveway a clean finish. Weak edging can allow movement, cracking, spreading and broken edges over time.
A resin bound driveway needs firm edge restraints around borders, paths, garage thresholds, planting areas and driveway entrances. The edging must be secure before the resin is laid.
Loose or uneven edging can ruin an otherwise good installation. When the edge moves, the resin surface can lose support and begin to crack or crumble.
The installer should check that edging is level, aligned and suitable for the driveway design. This is especially important on curved edges, slopes and vehicle turning areas.
Good edging also improves appearance. It creates a neat boundary between the driveway, lawn, flower beds, walls and entrance features.
Step 9: Stop Cheap Overlay Shortcuts
Overlaying can work only when the existing surface is suitable. It becomes a problem when the installer uses resin to hide cracks, movement, drainage defects or weak old surfacing.
A cheap overlay may look like a fast saving, but it can transfer existing problems into the new surface. Cracks and dips underneath may soon appear through the resin.
The installer should explain whether the project needs a full excavation, base correction or overlay. That decision should be based on inspection, not price pressure.
Block paving, broken concrete, loose tarmac and unstable surfaces are high-risk bases. Movement underneath the resin can cause cracking and early failure.
For homeowners comparing resin driveways in essex, the key question is not only how the driveway will look. It is whether the existing base is good enough to support the finish long term.
Step 10: Check Curing Before Use
Curing time protects the surface after installation. Walking, driving or placing heavy objects on the driveway too early can mark the finish, weaken the bond or damage the surface.
The installer should give clear instructions about when the driveway can be walked on and when vehicles can return. This timing depends on resin type, temperature and weather conditions.
A driveway may look finished before it is fully ready. That does not mean it can handle tyre pressure, turning movement or heavy bins.
Early vehicle use can create scuffs, dents or surface movement. This is especially risky around turning areas, garage entrances and narrow access points.
A professional handover should include curing guidance, first-use instructions and maintenance advice. The homeowner should not be left guessing.
Step 11: Get a Written Specification
A written specification protects the homeowner from vague promises. It should describe the base, drainage, resin type, aggregate, depth, edging, preparation and aftercare before work begins.
A verbal quote is not enough for a technical driveway system. The written quote should show exactly what is included and what is not included.
The specification should explain whether old surfacing will be removed, what base will be used, how drainage will work and what resin system will be installed.
It should also confirm surface depth, aggregate blend, UV stability, curing time, access requirements, waste removal and guarantee details.
If a quote is much cheaper than others, compare the specification carefully. A missing base correction, drainage plan or material detail can explain the low price.
Step 12: Choose the Installer Carefully
The installer is the biggest quality factor. A skilled team will inspect properly, explain risks, use the right materials and refuse poor shortcuts that can damage the finished driveway.
Good installers ask practical questions. They check access, levels, drainage, existing surface condition, vehicle use, colour expectations and long-term maintenance needs.
They should be able to show previous work, explain their installation method and provide clear answers about resin type, depth, weather limits and curing time.
Avoid installers who pressure for a quick decision, avoid written details, promise unrealistic prices or claim every existing surface is suitable for overlay.
A good resin bound driveway is not only bought as a product. It is built through careful surveying, preparation, timing and workmanship.
Final Expert Verdict
Poor resin bound installation can be avoided with the right checks before work starts. The best results come from strong base preparation, controlled drainage, quality materials and skilled installers.
Most resin failures are preventable. Cracking, loose stones, puddling, staining, colour change and early wear usually come from shortcuts during preparation or installation.
The homeowner should check the base, resin system, depth, edging, drainage, weather plan, curing time and written specification before agreeing to the work.
A cheaper quote is not always better value. If it removes preparation, drainage or quality control, it can create a driveway that needs repair far sooner.
A resin bound driveway should be smooth, stable, permeable and cleanly finished. That only happens when the installer treats the project as a full surfacing system, not a quick decorative overlay.
Frequently Asked Questions
Why do resin bound driveways crack?
Resin bound driveways usually crack because the base moves, the surface was laid too thin, the weather was unsuitable or existing cracks were covered without proper preparation.
Can resin be laid over old concrete?
Resin can sometimes be laid over concrete, but the concrete must be stable, clean, dry and properly prepared. Cracks, movement joints and drainage issues must be handled before installation.
Why are stones coming loose from my resin driveway?
Loose stones often come from poor mixing, too little resin, wet aggregate, weak bonding, early use or incorrect installation depth. The issue should be checked before it spreads.
Is a resin driveway still permeable over concrete?
The resin layer may be permeable, but a solid concrete base can stop water passing through. Drainage channels or another water management solution may be needed.
How do I know if a resin installer is good?
A good installer gives a written specification, checks the base, explains drainage, uses suitable resin, avoids wet weather installation and provides clear curing and maintenance instructions.
Also Read-Enhancing Home Energy Efficiency Through Window Replacement

Add a Comment