
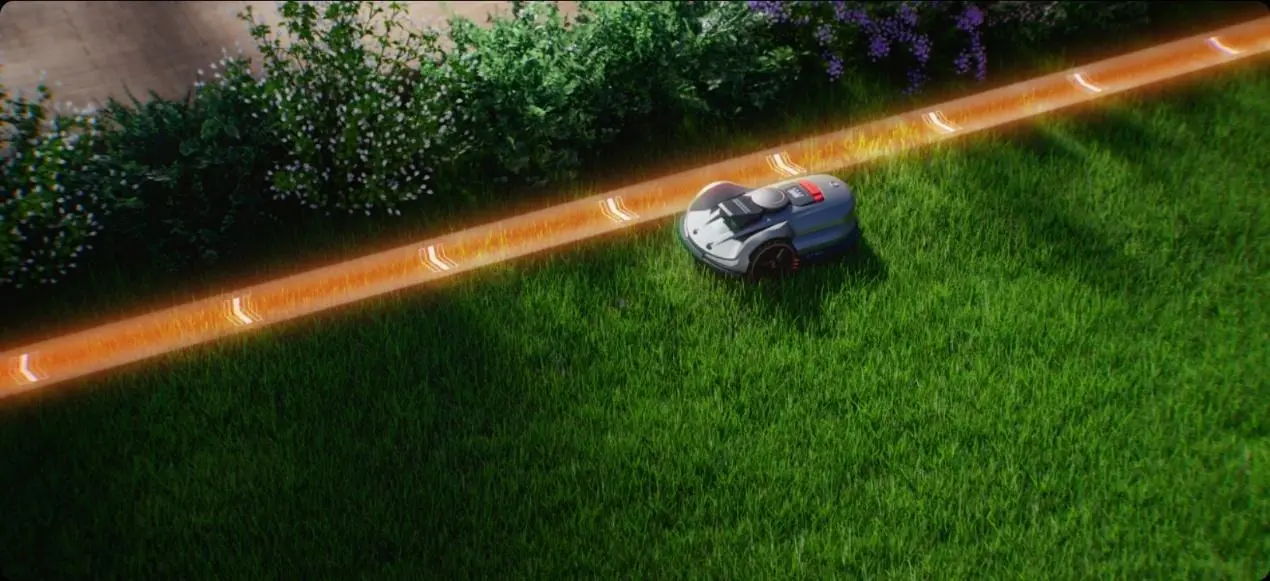
Robot mower garage installation works best when the location, dimensions, foundation, and docking path are planned before any parts are assembled. Beginners should focus on keeping the charger level, the entrance clear, and the structure stable without blocking sensors, signals, or cable routes. A correctly installed garage protects the mower and charging station from sun, rain, leaves, and everyday debris while allowing normal departures and returns. The following steps explain how to choose a suitable site, build a secure base, assemble the shelter, test docking, and correct common setup problems before regular mowing begins.
Plan the Location Before Installation
Choose a Level, Dry, and Accessible Area
Select a flat area that stays dry after rain and allows easy access for cleaning, inspection, and repairs. Avoid low spots, soft soil, steep edges, and locations beneath unstable branches. The entrance should face a clear section of lawn, with enough room for the mower to approach, align, depart, and turn without striking walls, plants, or garden features.
Measure the Mower, Charging Station, and Clearances
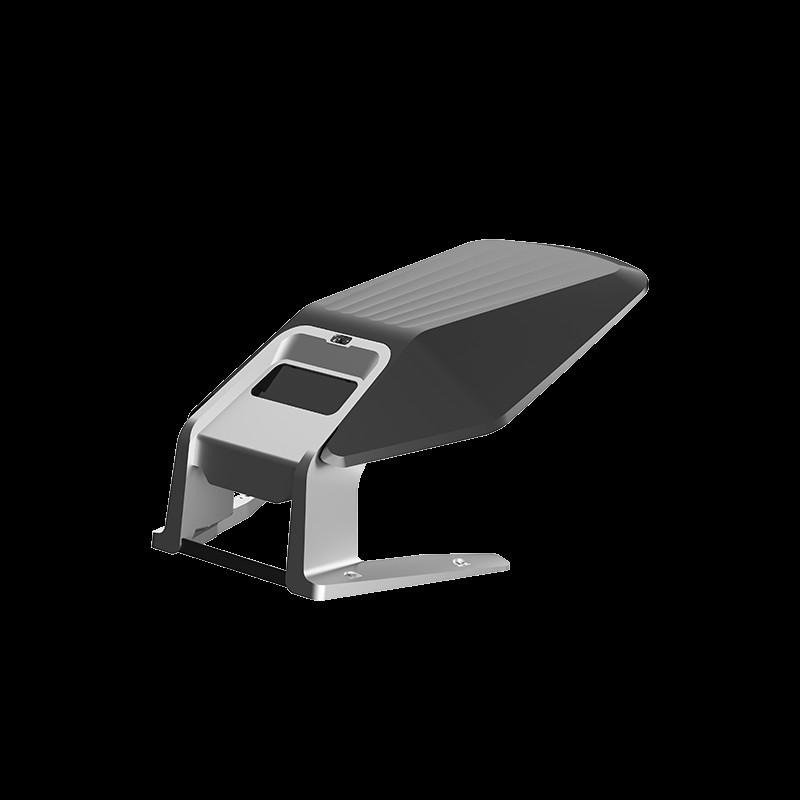
Measure the mower’s full width, length, and height, including cameras, handles, sensors, or raised body sections. Measure the entire charging station and note any rear cable connections. Leave extra side, roof, and entry clearance for alignment corrections and maintenance. Sunseeker Elite garages are model-sized for compact X3 Gen 2 or X4 series and larger X5 or X7 series.
Check Power, Cable, Signal, and Mower Routes
Confirm that the charging station can reach an outdoor-rated power supply without stretched leads or exposed connections. Plan cable routes away from blades, foot traffic, standing water, and sharp bends. Keep the garage clear of objects that may obstruct cameras, wireless communication, satellite reception, or boundary signals. The mower’s approach and departure route should remain straight, firm, and unobstructed.
Install the Robot Mower Garage Step by Step
Prepare and Level the Garage Foundation
Mark the garage footprint and remove loose soil, roots, stones, and thick vegetation. Create a firm, level surface using paving slabs, compacted gravel, or another base recommended by the garage manufacturer. Check the surface in several directions with a level, because small slopes can affect docking alignment. Ensure rainwater drains away from the charging station rather than collecting beneath it. Keep the finished base flush with the approach route so the mower does not strike a raised edge.
Assemble, Position, and Secure the Structure
Lay out all panels, fasteners, brackets, and anchors before assembly, then follow the supplied instructions in order. Tighten connections evenly without overtightening plastic parts or distorting the frame. Position the completed garage over the charging station while preserving the required side, rear, and entrance clearances. Confirm that the roof does not press against sensors or raised components. Anchor the structure to the base or ground using approved hardware so wind, vibration, and accidental contact cannot shift it.
Test and Improve the Finished Setup
Run Several Docking and Departure Tests
Start with the mower outside the garage and command it to return to the charging station. Watch the full approach, alignment, connection, and stopping position. Repeat the test from different nearby directions and after a normal mowing run. Then start several departures to confirm that the mower clears the roof, walls, and entrance without hesitation. Listen for scraping and check whether the wheels cross any raised edge. Reposition the station or garage immediately if the mower repeatedly corrects, stalls, or docks at an angle.
Check Drainage, Airflow, Stability, and Roof Clearance
Pour a small amount of water around the base or inspect the site after rain to confirm that runoff moves away from the charger. Check that open sides or vents allow heat and moisture to escape instead of trapping condensation. Push the structure gently from several directions to verify that anchors and fasteners remain secure. Inspect the roof clearance above cameras, handles, antennas, and moving body sections. Also ensure that overhangs direct water away from the entrance rather than creating drips across the mower’s docking path.
Adjust the Garage for Reliable Daily Operation
Review the setup after several complete mowing cycles, not just one test. If docking is inconsistent, straighten the approach, level the charger, widen the entrance clearance, or remove nearby obstacles. Secure loose cables and trim plants that begin to narrow the route. Clean leaves and clippings from the roof, base, and charging contacts regularly. Recheck anchors after storms and seasonal ground movement. Small adjustments made early prevent repeated docking errors and help robot lawn mowers garages protect the mower without interfering with navigation, charging, or scheduled operation.
Conclusion
A successful robot mower garage installation starts with a dry, level site and accurate measurements. Build a stable foundation, preserve clear cable and navigation routes, and secure the structure against movement. After assembly, test several approaches, departures, and charging cycles while checking drainage, ventilation, roof height, and entry clearance. Correct any misalignment before regular use. With careful planning and a few practical checks, beginners can create a reliable shelter that protects the mower and charging station without disrupting everyday automated operation.
Also Read-Precision Machining Technology: CNC Machining Advancements

Add a Comment